What a Professional Cabinet Installation Process Looks Like
Key takeaway
A professional cabinet installation follows a set sequence: site prep and precise measuring, a wall layout marked for studs and level lines, base cabinets set and secured first, then upper cabinets hung, followed by filler pieces, hardware, and a final leveling check before countertops go on top. The whole job typically runs from one day for a small kitchen to several days for a full remodel with custom panels and crown molding. Doing the steps in this order matters more in Hawaii than most places, because humidity swings and older, sometimes uneven walls make precise leveling and material choice especially important.
Key takeaways
- Cabinets go in base-first, then upper, with laser-level lines marking every reference point before a single screw goes in.
- Studs, not drywall alone, need to carry the weight — installers locate and mark them before hanging anything.
- In Oahu's humidity, cabinet boxes are often given time to acclimate to the space before final installation to reduce swelling or gaps later.
Site Prep and Measuring Come First
Before any cabinet touches a wall, an installer checks the room for square corners, floor level, and wall plumb. Few older Oahu homes have perfectly straight walls, so this step catches problems early rather than mid-install. The installer also confirms plumbing and electrical rough-ins are in the right spot for sinks, dishwashers, and outlets, since moving them after cabinets are set is far more disruptive.
Accurate measuring at this stage also sets up everything downstream, including the countertop template. If you want to understand how that measuring translates into a stone or quartz top later, this guide to measuring for countertops walks through the same reference points installers use.
Marking Layout Lines and Locating Studs
Installers snap a level line around the room at the height where base cabinets will sit, then a second line for upper cabinets — typically leaving space for a backsplash and standard counter height. They locate wall studs with a stud finder and mark them clearly, because cabinets need to be screwed into solid framing, not just drywall, to hold weight over time. This is also when any needed blocking gets added inside the wall if studs don't line up with where cabinets will hang.
Setting Base Cabinets
Base cabinets go in first because they support the countertop and give installers a stable reference for everything above. The process usually looks like this:
- Cabinets are placed against the layout line and shimmed to correct for any floor unevenness.
- Adjoining cabinet boxes are clamped together and screwed through the face frames or side panels.
- Each run is checked with a level in multiple directions — front to back and side to side — before final fastening into the wall studs.
- Filler strips are added at wall ends or corners where a full cabinet won't fit flush.
Getting the base row level is the single most important step in the whole install, since any tilt here carries through to the countertop and every door and drawer above it.
Hanging Upper Cabinets
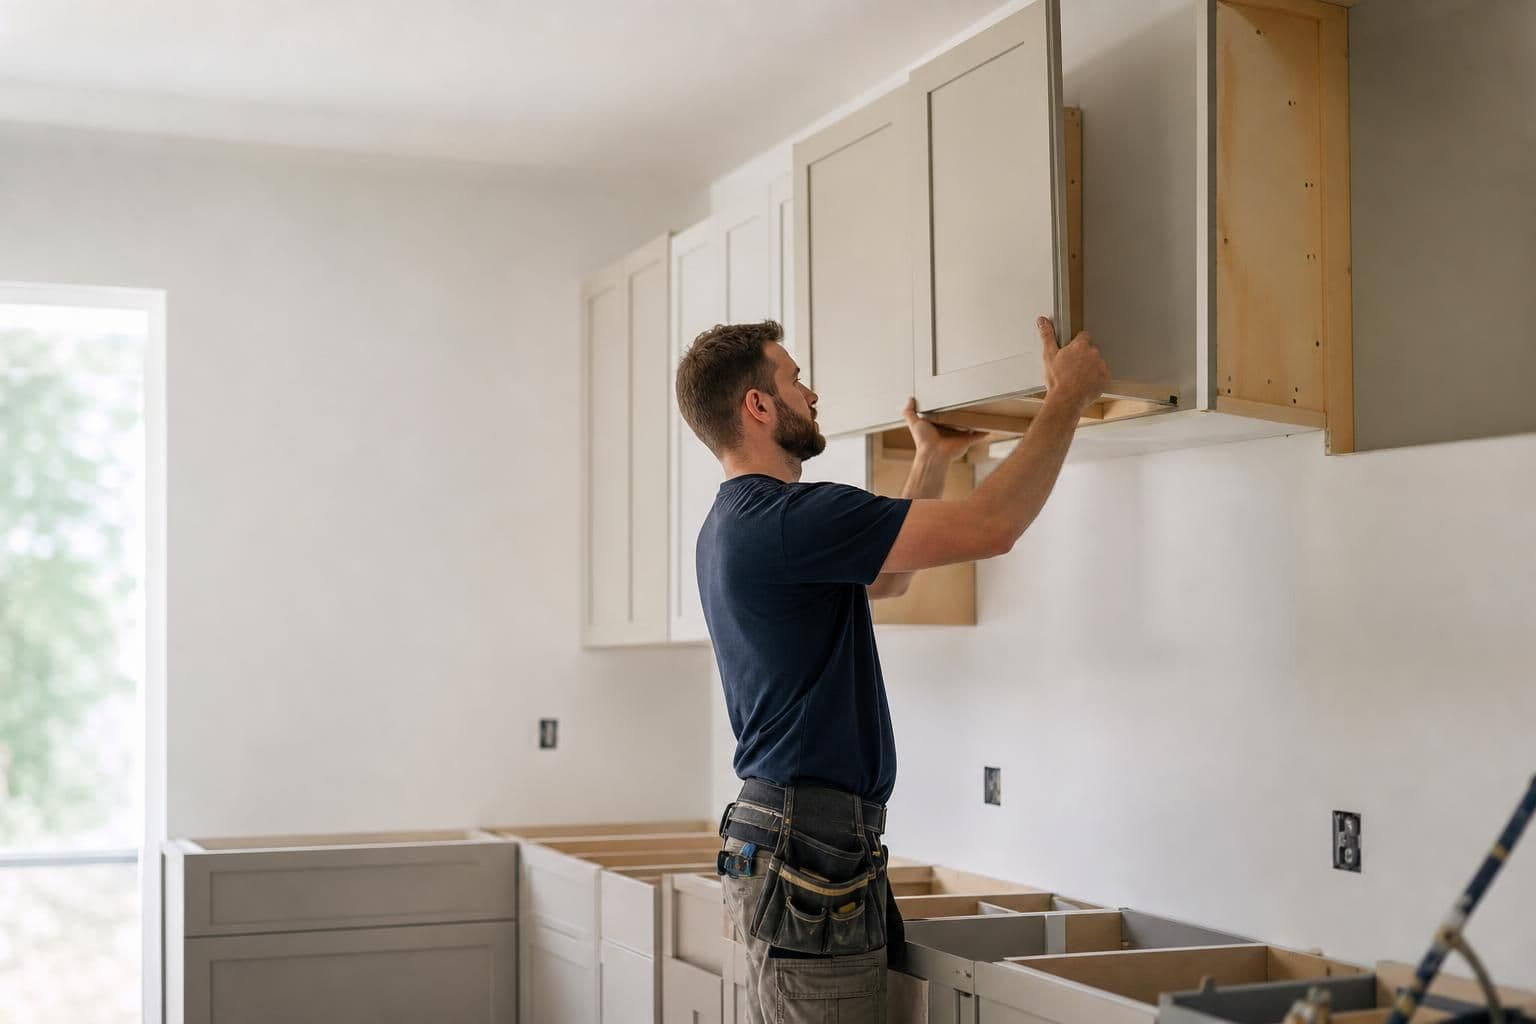
Upper cabinets are hung next, usually with a temporary ledger board or cabinet jack holding them at the marked line while the installer screws through the back rail into studs. Corner units and cabinets above range hoods or refrigerators require extra attention to spacing so appliances fit and doors clear each other when open. Once hung, each cabinet is checked for level and plumb again, since a upper unit that's even slightly off is far more noticeable at eye level than a base cabinet.
Fillers, Panels, and Trim
After the boxes are set, installers add finishing pieces: filler strips, scribe molding to close gaps against uneven walls, toe kicks along the floor, and any decorative end panels or crown molding. This is also when custom touches like glass-front doors or furniture-style legs get fitted. For homeowners comparing solid wood versus engineered options at this stage, this breakdown of engineered versus solid wood cabinets explains how each material handles trim work and long-term stability differently.
Hardware and Final Adjustments
Doors and drawers are hung last, then adjusted so gaps are even and everything closes flush. Hinges typically have adjustment screws that let installers fine-tune a door's position by a few millimeters in any direction — this is normal and expected, not a sign of a flawed install. Handles and pulls go on last, either by template or by measuring each one individually for consistent placement. A full walkthrough of this stage, including spacing and template tricks, is covered in this cabinet hardware installation guide.
Why Climate Changes the Process in Hawaii
Wood and wood-composite cabinet materials respond to moisture in the air, expanding slightly in humid conditions and contracting when it's drier. The U.S. Department of Energy notes that indoor humidity control matters for protecting wood building materials from warping and swelling over time, which is part of why installers here often let cabinet boxes sit in the space for a period before final fastening — it lets the material adjust before doors and drawers are precisely aligned. Coastal salt air and Oahu's rainy-season humidity spikes are also reasons many installers lean toward moisture-resistant box materials and finishes rated for humid environments, similar to guidance the Environmental Protection Agency gives on managing indoor moisture in general.
What a Full Install Timeline Looks Like
A single-wall kitchen refresh with stock cabinets can often be installed in a day. A full kitchen with custom cabinet runs, crown molding, and panel-ready appliances usually takes multiple days, especially when countertop templating has to happen after cabinets are set and before the counters themselves are fabricated and installed. Because Hawaii sources most cabinet materials and hardware from off-island suppliers, lead times for custom orders tend to run longer than mainland projects, so scheduling the install date around material arrival is part of the planning conversation with any installer.
Frequently Asked Questions
Q: How long does professional cabinet installation take?
A small kitchen with stock cabinets can be installed in a single day, while a full kitchen remodel with custom cabinetry, molding, and panel-ready appliances often takes several days, especially when countertop templating and installation happen afterward.
Q: Do cabinets get installed before or after countertops?
Cabinets always go in first. Installers need the base cabinet boxes set and leveled so a countertop fabricator can accurately template the stone or quartz top that sits on them.
Q: Can cabinets be installed against uneven walls?
Yes — installers use shims, scribe molding, and filler strips to close gaps and keep cabinet lines straight even when a wall isn't perfectly flat, which is common in many older Oahu homes.
Q: Why do installers wait before hanging some cabinets after delivery?
Wood and wood-composite materials can expand slightly in humid conditions, so letting cabinet boxes acclimate to the room's humidity before final installation helps prevent gaps or swelling once they're fastened in place.
Q: Do I need to move plumbing or electrical before cabinet installation?
Any plumbing or electrical work for sinks, dishwashers, or under-cabinet outlets should be finished before installation day, since cabinets are built and set around those fixed points.