How to Install Cabinet Hardware: A Step-by-Step Guide
Key takeaway
To install cabinet hardware, mark the exact hole locations with a template or jig, drill pilot holes at a 90-degree angle, then attach knobs or pulls with the screws provided, checking alignment against a level line before fully tightening. Consistency across every door and drawer matters more than speed — a single crooked pull is one of the fastest ways to make an otherwise nice kitchen look unfinished.
Key takeaways
- Use a hardware jig or a paper template so every knob and pull lands in the same spot on every door and drawer.
- Standard pull placement is 2 to 3 inches from the door or drawer edge, but always confirm against your specific cabinet style first.
- In Hawaii's humid, salt-tinged air, stainless steel and solid brass hardware resist corrosion far better than plated finishes.
Tools and Materials You'll Need
A clean installation depends more on the right tools than on carpentry skill. Gather these before starting:
- Drill/driver with a bit matched to your screw size (usually 1/8" for hardware screws)
- Hardware jig or a printed paper template
- Tape measure and a combination square
- Pencil and painter's tape (to protect the finish and mark reference lines)
- Level, especially for pulls longer than 4 inches
- The hardware itself, plus the screws included with it — cabinet screws are not always a standard length, and hardware often ships with two screw lengths for different door thicknesses
If you're refreshing hardware as part of a larger project, it's worth deciding on knobs versus pulls before you order doors, since some cabinet finishes resist Hawaii's moisture and mold better than others and that choice can influence which hardware styles look right.
Step 1: Decide on Placement Before You Measure
Placement is the single biggest factor in how professional the finished cabinets look. Common conventions:
- Knobs on doors: typically placed in the corner nearest the countertop or the opening edge, about 2 to 3 inches from each edge.
- Pulls on doors: mounted vertically, centered top-to-bottom or aligned with the top rail.
- Pulls on drawers: mounted horizontally, centered on the drawer face, both left-to-right and top-to-bottom.
- Tall or wide drawers: may need two pulls spaced evenly rather than one centered pull.
There's no single legal standard for hardware placement, but the National Kitchen & Bath Association publishes commonly referenced planning guidelines that many cabinet makers and designers use as a starting baseline before adjusting for a specific door style.
Step 2: Build or Buy a Template
A jig with adjustable arms clamps onto the door or drawer and marks both holes at once, which keeps every piece identical without repeated measuring. If you don't have a jig, a simple paper or cardboard template with holes punched at your chosen dimensions works almost as well — trace it onto painter's tape stuck to the cabinet face so pencil marks don't mar the finish.
For a kitchen with dozens of doors and drawers, even a small measuring error compounds quickly. Mark one door first, install the hardware, and stand back to confirm the look before repeating it across every remaining piece.
Step 3: Drill Pilot Holes Correctly
Cabinet doors, especially those with a veneer or laminate surface, can chip or splinter if drilled carelessly. To avoid this:
- Place a strip of painter's tape over the drill point to reduce surface tearout.
- Drill straight and perpendicular to the door face — a slight angle will cause the knob or pull to sit crooked even if the screw is centered.
- Drill from the front face through to the back whenever possible, since exit-side splintering is usually worse than entry-side splintering.
- Use a scrap piece of wood behind thin panels as backing support if you're worried about blowout.
Cordless drills make this job easy, but the U.S. Consumer Product Safety Commission notes that hand and power tool injuries are a leading cause of home DIY accidents — keep fingers clear of the bit path and unplug or disengage the trigger lock between holes.
Step 4: Attach the Hardware
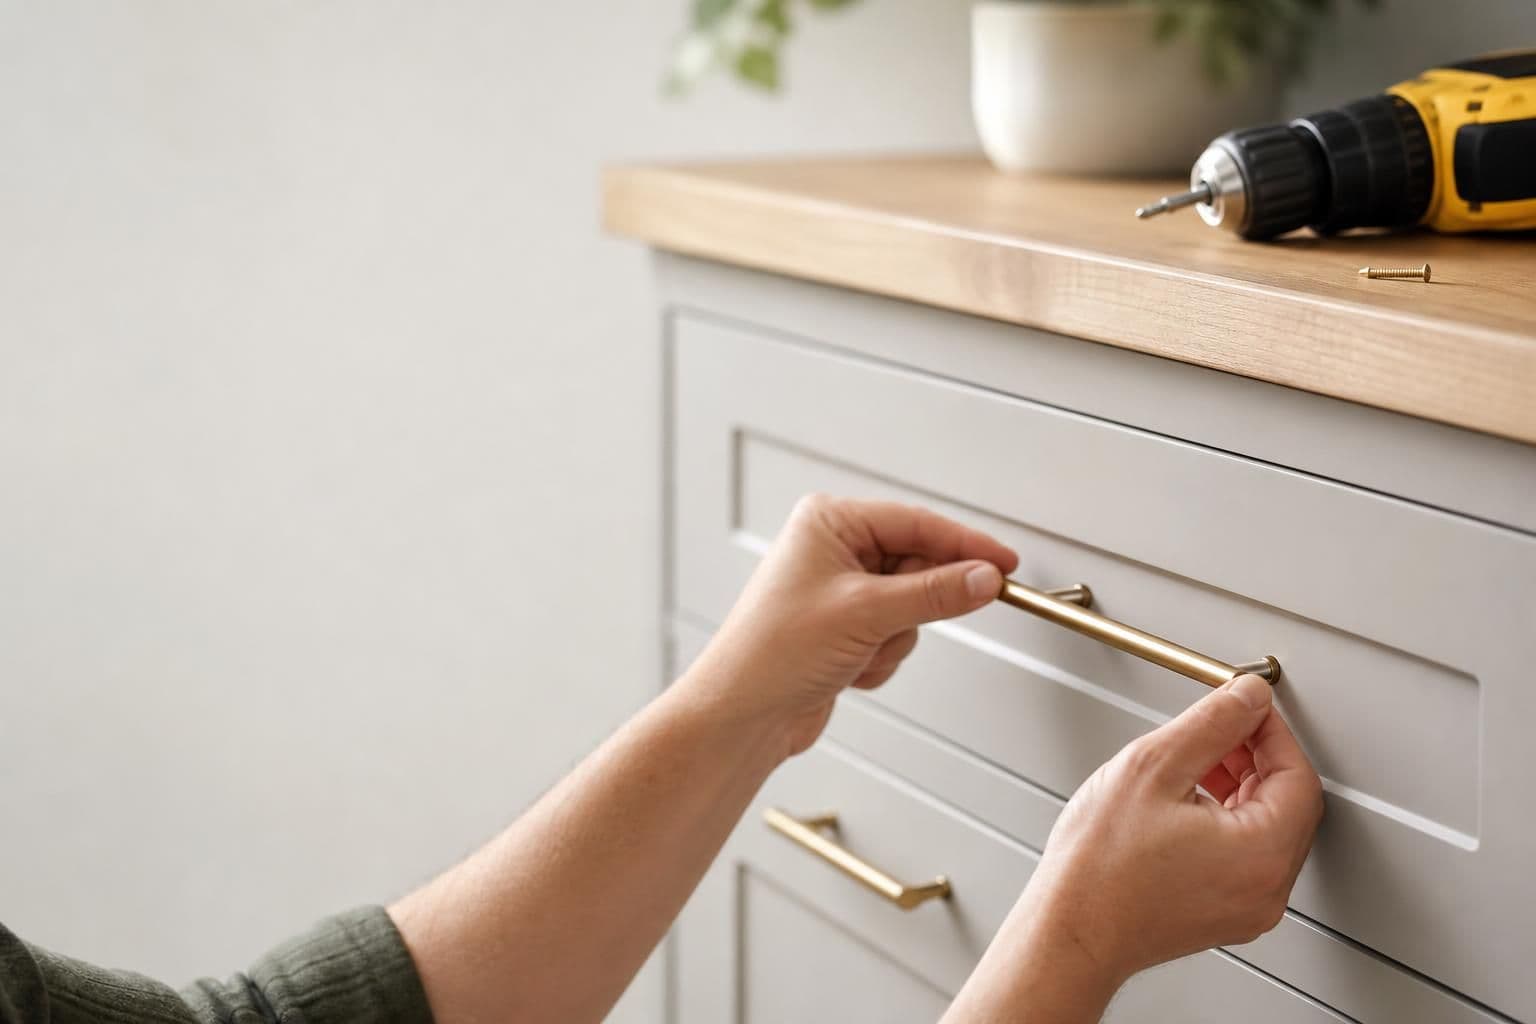
Insert the screw from the back of the door or drawer front through to the hardware on the front face, and hand-tighten before using the driver, so you can catch a misaligned hole before it's snug. Over-tightening can strip the pilot hole, especially in MDF or particleboard cores, so stop as soon as the hardware sits flush with no wobble.
If a pull spans two screw holes, check it with a level before fully tightening either screw — pulls longer than 6 inches will visibly show even a slight tilt.
Choosing Hardware That Holds Up on Oahu
Material choice matters more in Hawaii than in most mainland climates. Salt-laden air and high humidity accelerate corrosion on lower-quality plated finishes, sometimes within a couple of years in homes closer to the coastline. Solid brass, stainless steel, and powder-coated finishes generally hold their appearance longer than chrome-plated zinc alloy hardware in these conditions.
If you're planning hardware as part of a bigger kitchen update, timing matters too — hardware is usually one of the last items installed, after doors are hung and countertops are set, so it's worth mapping it into your overall kitchen remodel timeline for Oahu rather than treating it as an afterthought.
When to Call in a Professional
Swapping hardware on existing holes is a straightforward weekend project. But if you're changing pull length, switching from knobs to pulls, or reconfiguring a full kitchen, old holes often don't line up with new hardware, which means patching, refinishing, or replacing door faces. At that point, many homeowners find it faster to fold hardware into a broader cabinet refresh handled by a local cabinet shop that can match finishes and confirm placement across a full kitchen at once — something the design team at VC Flooring & Stone walks Oahu homeowners through regularly.
Frequently Asked Questions
Q: How far from the edge should cabinet pulls be installed?
Most pulls are centered 2 to 3 inches from the edge of the door or drawer, though the exact distance depends on the cabinet's rail and stile dimensions. Always test placement on one piece before drilling the rest.
Q: Do I need a jig to install cabinet hardware?
A jig isn't strictly required, but it makes repeated installs across many doors and drawers far more consistent than measuring each one by hand. A paper template is a reasonable low-cost substitute.
Q: What's the difference between installing knobs and installing pulls?
Knobs need a single hole and are typically centered near one corner of the door, while pulls need two aligned holes and are usually centered on the drawer face or mounted vertically on doors. Pulls require more careful alignment since two misaligned holes are more visible than one.
Q: Can I reuse old screw holes when replacing cabinet hardware?
Only if the new hardware uses the exact same hole spacing as the old hardware. If the spacing differs, you'll need to fill and refinish the old holes or plan for a new placement pattern.
Q: What cabinet hardware finishes last longest in Hawaii's climate?
Solid brass, stainless steel, and quality powder-coated finishes tend to resist the corrosion caused by salt air and humidity better than chrome-plated or lower-grade plated finishes.