How to Measure for Custom Cabinets
Key takeaway
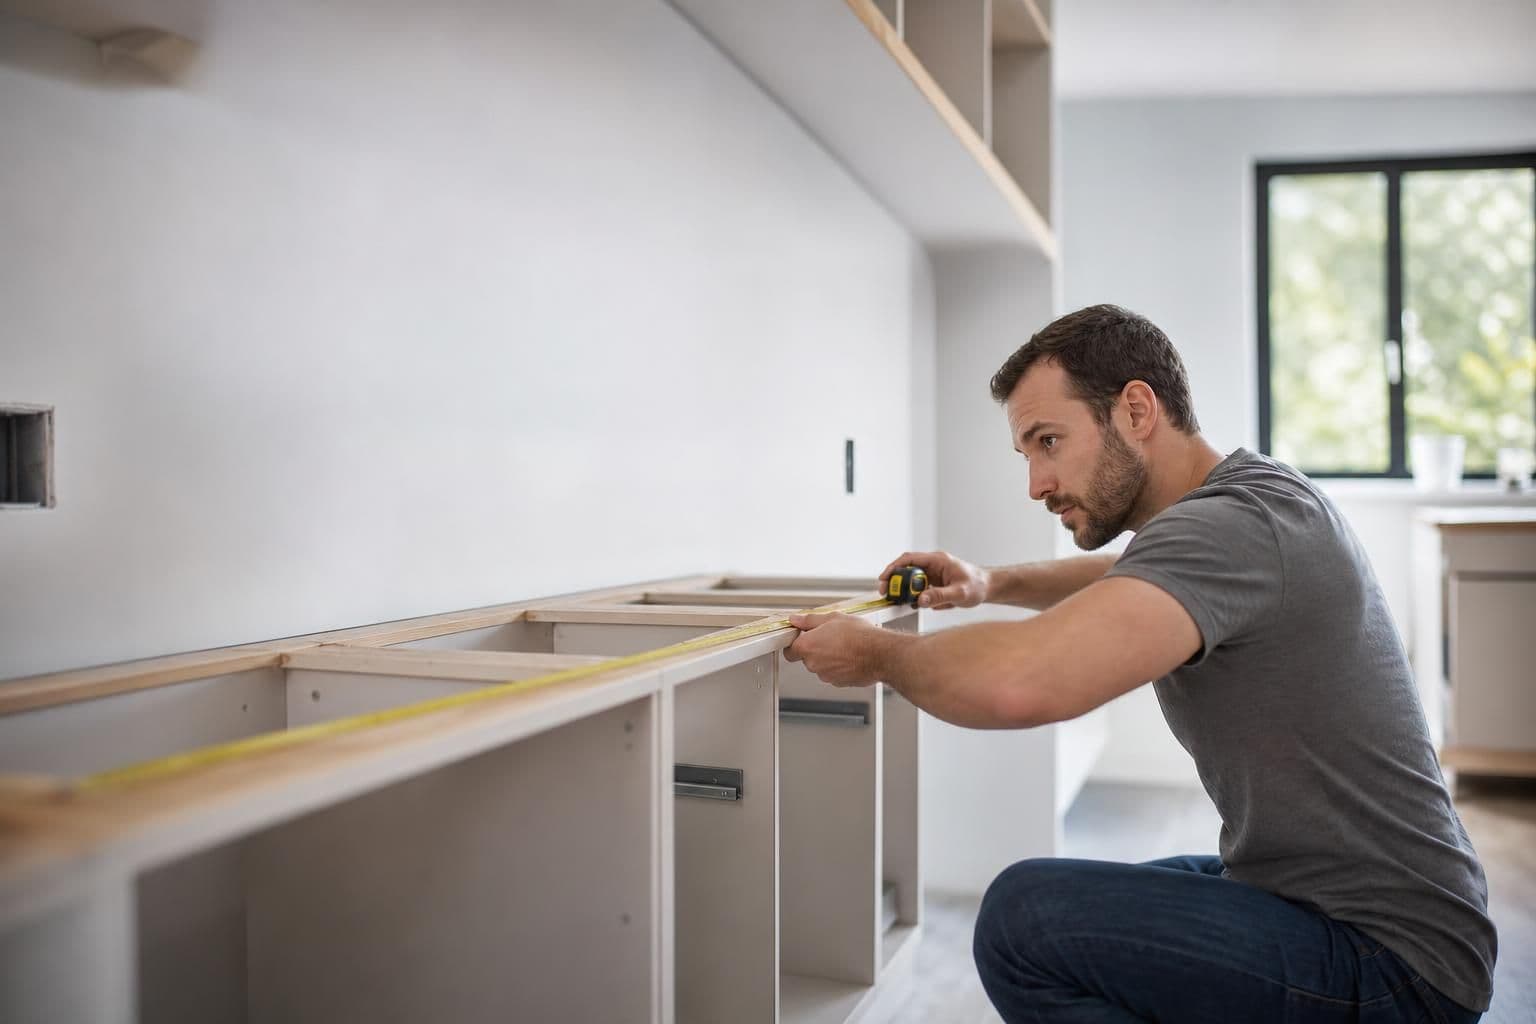
To measure for custom cabinets, record the full wall width and height, mark the locations of windows, doors, outlets, and plumbing or gas lines, and note ceiling height and any out-of-square corners before a single cabinet box is ordered. Measurements should be taken at multiple points along each wall (not just one spot) since older homes rarely have perfectly straight walls or square corners. Getting this step wrong is the single most common cause of delayed or re-cut cabinet orders.
Key takeaways
- Measure every wall at three heights (floor, counter height, and ceiling) because walls are rarely perfectly straight.
- Leave room in your numbers for appliance clearances, door swing, and at least 1/8" to 1/4" of scribe allowance against uneven walls.
- Bring your raw measurements to a professional for final verification before cabinets are built — small errors compound fast in a run of boxes.
Tools You Need Before You Start
A steel tape measure (25 feet minimum), a 4-foot level, a pencil, and graph paper or a simple measuring app are enough to get usable numbers. Skip a cloth or fabric tape measure — they stretch slightly over time and can throw off a cut list by a fraction of an inch, which matters when cabinet runs are built to exact specifications.
Write every number down as you go rather than trying to remember them. A single missed dimension on a kitchen with an island, a peninsula, and a wall of uppers is a common reason homeowners end up remeasuring a job twice.
Step 1: Measure the Overall Room Dimensions
Start with the length of each wall at floor level, then repeat the same measurement at 36 inches (roughly counter height) and again near the ceiling. If the three numbers differ by more than about 1/2 inch, the wall is out of square and that detail needs to be flagged for the cabinet maker, since filler strips or scribe pieces will be needed to close the gap.
Also record the ceiling height in at least two spots per wall. Older Oahu homes, especially those with plantation-era construction or additions, often have ceilings that are not level from one end of a room to the other.
Step 2: Mark Windows, Doors, and Obstructions
Measure from a fixed reference point (usually a corner) to the edge of every window, door, outlet, switch, thermostat, and vent. Note the height of each from the floor as well. This becomes critical when planning upper cabinets around a window or figuring out where a range hood vent needs to land.
If you're reworking a kitchen layout rather than just replacing boxes in the same footprint, it helps to think through traffic flow and appliance placement at the same time you're measuring — see this guide on designing a kitchen layout for how obstructions like windows and doorways should influence where cabinets and the work triangle end up.
Step 3: Account for Appliances and Fixtures
List the exact width, depth, and height of every appliance that cabinets will need to wrap around: range, refrigerator, dishwasher, microwave, and sink. Manufacturer spec sheets give precise numbers, but always leave manufacturer-recommended clearance on top of the raw appliance dimension — most ranges need side clearance for safe operation and code compliance, and refrigerators need air gaps for ventilation.
A few numbers worth building into your plan:
- Standard base cabinets run 24 inches deep and 34.5 inches tall before a countertop is added.
- Standard upper cabinets are typically 12 inches deep.
- A minimum clearance of about 30 inches between a cooking surface and the nearest overhead cabinet is a widely followed kitchen safety guideline from the National Kitchen & Bath Association.
Step 4: Measure for Door Swing and Walkway Clearance
Open doors, dishwasher doors, and drawer extensions all need room to clear each other and anyone standing nearby. The Americans with Disabilities Act accessibility guidelines recommend at least 36 inches of clear walkway width in kitchens designed for wheelchair access, and even in a standard kitchen, less than about 42 inches between opposing counters makes it hard for two people to work at once or for a dishwasher door to open without blocking the path.
In a condo kitchen, this step matters even more because square footage is tight and there's rarely room to compromise on circulation space once cabinets are installed. If you're working in a smaller or multi-purpose space, it's worth looking at how closet-style custom cabinetry handles clearance in compact layouts — the approach used in smart custom closets for Oahu ADUs applies the same clearance logic to kitchens with limited square footage.
Step 5: Note Out-of-Square Corners and Wall Irregularities
Hold a level against each wall and check both the vertical plane and the corner angle where two walls meet. A corner that reads even a couple of degrees off 90° will need a scribe strip or filler panel built into the cabinet run to close the visible gap cleanly. This is one of the most common reasons a cabinet order gets revised after an in-home measurement — what looked square by eye on a first pass often isn't once it's checked with a level.
Humidity and material movement are also a factor specific to island homes. Wood-based cabinet materials expand and contract slightly with seasonal humidity swings, which is why professional installers typically build in a small expansion gap rather than fitting cabinetry edge-to-edge against walls or each other.
Step 6: Plan for Countertop Overlap
Cabinet measurements and countertop measurements are closely linked — base cabinet depth, overhang, and backsplash height all depend on each other. Standard counter overhang past the cabinet face is typically 1 to 1.5 inches, and that detail changes the finished depth number you give a cabinet maker. If you haven't finalized your countertop plan yet, it's worth reviewing how to measure for countertops alongside your cabinet measurements so the two numbers match up before either is ordered.
Material choice also affects final dimensions slightly. A quartz slab behaves differently at the edges than granite or laminate, which is one reason pairing decisions — like matching quartz countertops with shaker cabinets — are usually made before final cabinet dimensions are locked in, not after.
Step 7: Double-Check Everything Before Ordering
Re-measure every number a second time, ideally on a different day, since a wall that reads one way in morning light can look different once furniture or appliances are moved. Professional installers typically do a final in-home verification measurement before cabinets go into production, specifically because DIY measurements — even careful ones — miss small irregularities that only show up with laser-level tools and experience reading older wall framing.
Frequently Asked Questions
Q: What is the standard depth for custom base cabinets?
Standard base cabinets are typically 24 inches deep, measured from the wall to the front face of the cabinet box, not including the countertop overhang. Upper (wall) cabinets are usually shallower, around 12 inches deep.
Q: How much clearance should I leave above a cooktop for cabinets?
A commonly followed guideline is about 30 inches of clearance between a cooking surface and the bottom of any cabinet mounted above it, per kitchen design standards from the National Kitchen & Bath Association. Local building and fire codes may set additional requirements depending on the range type.
Q: Should I measure for cabinets myself or have a professional do it?
DIY measurements are a useful starting point, but a professional in-home measurement catches out-of-square corners, wall irregularities, and appliance clearance issues that are easy to miss with a tape measure alone. Most cabinet makers require a final professional measurement before production regardless of what homeowners measured first.
Q: How do humid conditions affect cabinet measurements in Hawaii?
Wood-based cabinet materials can expand and contract slightly with humidity changes, so installers typically build small expansion gaps into the final fit rather than installing cabinets flush edge-to-edge. This is a standard practice in island climates rather than a sign of a measurement error.
Q: What's the minimum walkway width needed between kitchen cabinets?
Accessibility guidelines from the Americans with Disabilities Act recommend at least 36 inches of clear walkway space, and many kitchen designers suggest closer to 42 inches between opposing counters so appliance doors and drawers can open without blocking the path.