How to Use a Self-Cleaning Slicker Brush the Right Way
Key takeaway
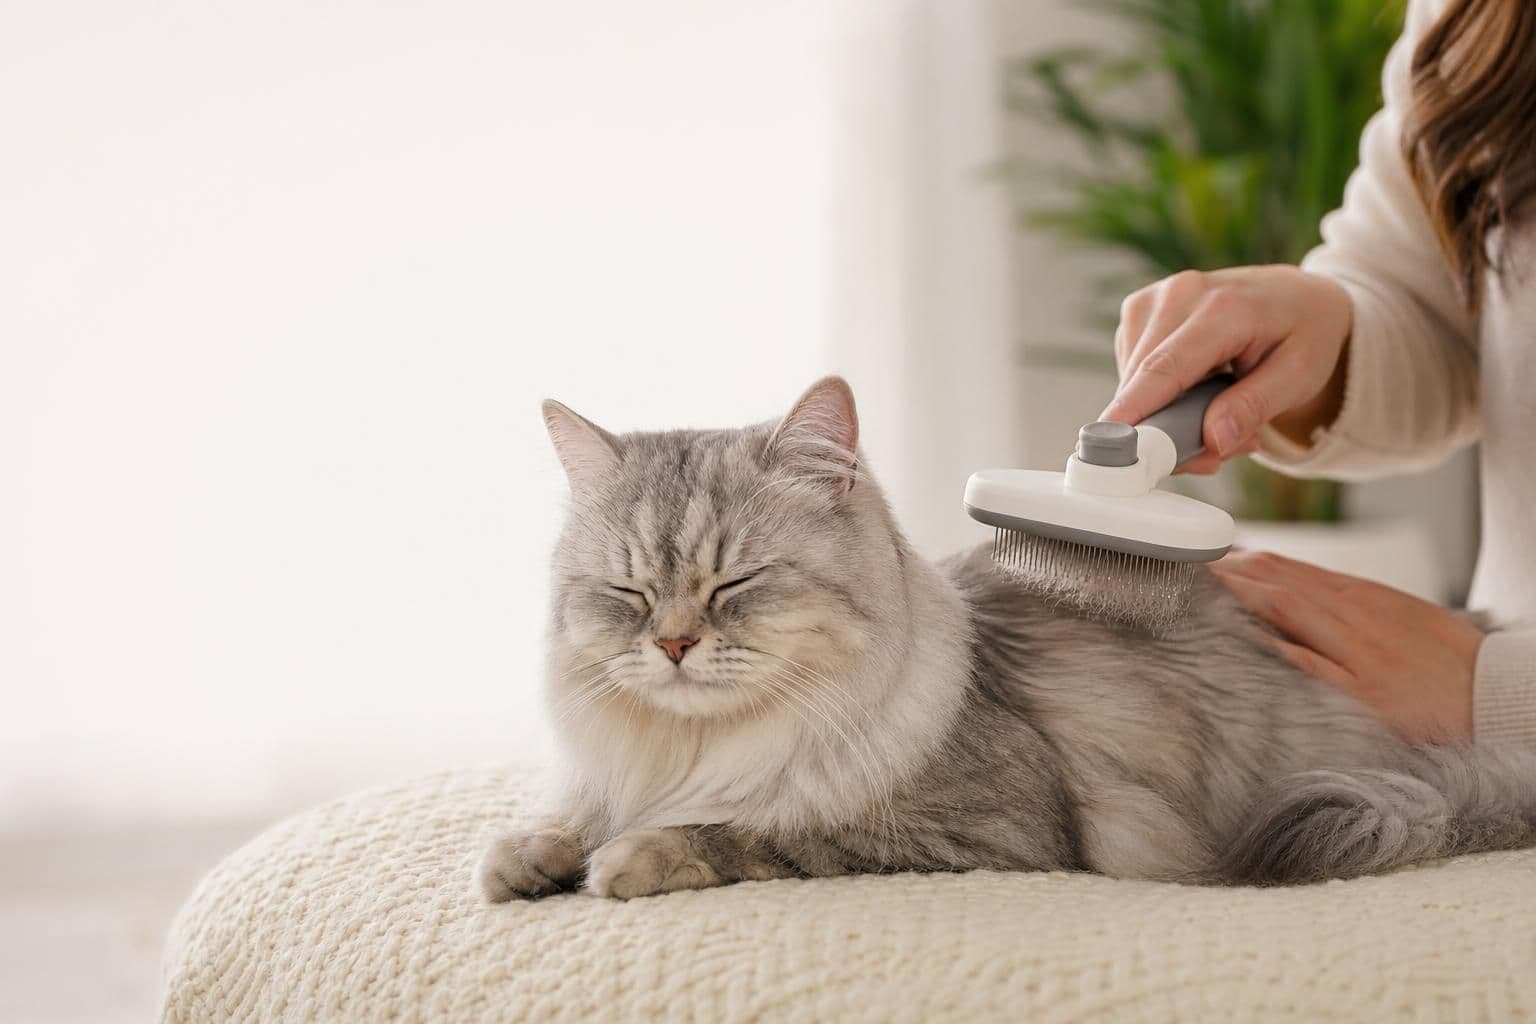
To use a self-cleaning slicker brush, hold it at a slight angle and brush in short, gentle strokes in the direction of hair growth, working in small sections from head to tail. Press the retraction button between sections (or after each full pass) to pull the collected fur into a removable pad, then lift it out and discard it. The whole process should take a few minutes per pet and feels more like light combing than scrubbing.
Key takeaways
- Brush in the direction of hair growth, in small 2-3 inch sections, to avoid skin irritation or brush burn.
- Retract the pins to bundle loose fur after every section, then lift the pad away instead of pulling fur off by hand.
- Go slower and use lighter pressure around the belly, legs, and tail base, where skin is thinner and mats form first.
What makes a slicker brush "self-cleaning"
A standard slicker brush has fine, angled wire pins fixed to a flat pad, and after a few strokes it fills with fur that has to be picked off by hand. A self-cleaning version adds a retraction mechanism, usually a button or slider, that pulls the pins down flush with the base. Loose fur that was tangled between the pins gets pushed into a slot or tray, so it comes away in one clump instead of stuck between your fingers. The brushing action itself is identical to a regular slicker brush; only the cleanup step changes.
Step-by-step brushing technique
- Check the coat for mats first. Run your fingers through the fur before brushing. If you feel a tangle, work it apart gently with your fingers or a comb rather than dragging the slicker brush over it, which can pull on the skin.
- Start at the neck and work backward. Use short strokes, roughly the length of the brush head, following the direction the hair naturally lies.
- Use wrist motion, not arm pressure. The pins do the work; pressing harder just increases the chance of scratching the skin, especially on cats and short-haired dogs.
- Retract and clear fur every section or two. Press the button, let the pins drop, then peel off or shake out the collected fur into a trash can.
- Finish with a pass along the direction of growth only. Some owners like to do a final light pass to smooth the coat down, especially before the pet goes back on a bed or blanket.
For cats and dogs with double coats (like Huskies, Corgis, or many domestic shorthairs), doing this two to three times a week during shedding season noticeably reduces the amount of loose undercoat that ends up on furniture and clothing.
Safety notes for sensitive areas
Slicker brush pins are fine and slightly bent to catch loose fur, which also means they can nick skin if pressed too hard or dragged sideways instead of with the coat. The American Veterinary Medical Association notes that regular grooming is part of routine preventive care because it lets owners spot skin problems, parasites, or lumps early — but it should stay comfortable for the animal, not something they brace against. Slow down or switch to a soft grooming glove around:
- The belly and inner legs
- The base of the tail
- Around the ears and face
- Any area with a recent scab, hot spot, or visible redness
If your cat or dog flinches, freezes, or tries to walk away, stop and try again later in a calmer moment rather than restraining them through it.
How often to brush by coat type
There's no single universal schedule, but coat type is the main driver:
- Short, single coats (many cats, Boxers, Beagles): once a week is usually enough to catch loose hair before it sheds onto furniture.
- Double coats or long fur (Huskies, Golden Retrievers, Maine Coons, Persians): two to three times a week keeps mats from forming, especially behind the ears and under the collar.
- During seasonal shedding, most dogs and cats blow their undercoat over several weeks rather than all at once, so more frequent, shorter sessions work better than one long session.
Our own cats, Ai and Dudu, have very different coats — one short and sleek, one dense and fluffy — and we noticed the fluffier one needs the retraction button used almost every minute of brushing, while the short-coated one barely fills the pad in a full session. That difference is a useful gauge: if you're clearing fur constantly, you've likely found a shedding-heavy coat that benefits from more frequent, shorter brushings rather than one long weekly one.
Cleaning and maintaining the brush itself
Even self-cleaning brushes benefit from an occasional deeper clean. Wipe the base and pins with a damp cloth to remove skin oils and dander buildup, and let it air dry fully before storing it, since trapped moisture near metal pins can encourage rust over time. If you also use a grooming hammock or restraint sling for nervous pets, keep it and the brush in the same spot so grooming sessions feel like a predictable routine rather than something new each time.
Brushing pairs naturally with a broader grooming routine — many owners find that after a good brushing session, a quick wipe-down with a pet towel picks up any remaining loose hair and dander that the brush didn't catch.
When brushing reveals a bigger issue
Sometimes a brushing session uncovers a mat too tight to work out with fingers, a flea or tick, or a skin lump you hadn't noticed before. The ASPCA recommends a veterinary visit for any mat that's tight against the skin, since cutting it out at home risks nicking the skin underneath. Regular brushing is also how many owners first notice weight changes or skin issues, simply because it means running hands over the whole body on a schedule.
If seasonal shedding also means your dog or cat is losing insulation, that's a good moment to double check that outdoor layers and coats still fit as expected, since a lighter coat underneath can change how snug a sweater or jacket feels.
Frequently Asked Questions
Q: Can I use a self-cleaning slicker brush on a cat?
Yes, most self-cleaning slicker brushes work on cats as well as dogs, though you should use lighter pressure and shorter strokes since cat skin is thinner. Watch for tail-flicking or skin twitching, which usually means it's time to stop.
Q: How do I know if I'm brushing too hard?
If you see red streaks, the pet pulls away repeatedly, or you notice broken hairs rather than loose undercoat coming out, ease off pressure and slow your strokes. The brush should glide through the coat, not scrape the skin.
Q: Why does the fur stay stuck in the brush even after I retract the pins?
This usually happens when too much fur has built up in one section before retracting. Clearing the pad every section or two, rather than waiting until the brush is full, keeps the self-cleaning mechanism working smoothly.
Q: Is a slicker brush enough, or do I need other grooming tools too?
A slicker brush handles loose surface fur and mild tangles well, but a metal comb is better for finding tight mats close to the skin, and a deshedding tool works better for very thick undercoats. Many owners keep two or three tools on hand rather than relying on one.
Q: How long should a brushing session take?
Most short-coated pets only need two to three minutes, while long-haired or heavily shedding pets may need five to ten minutes, done in short sections rather than one continuous pass.