How to Install Floating Shelves in a Kitchen
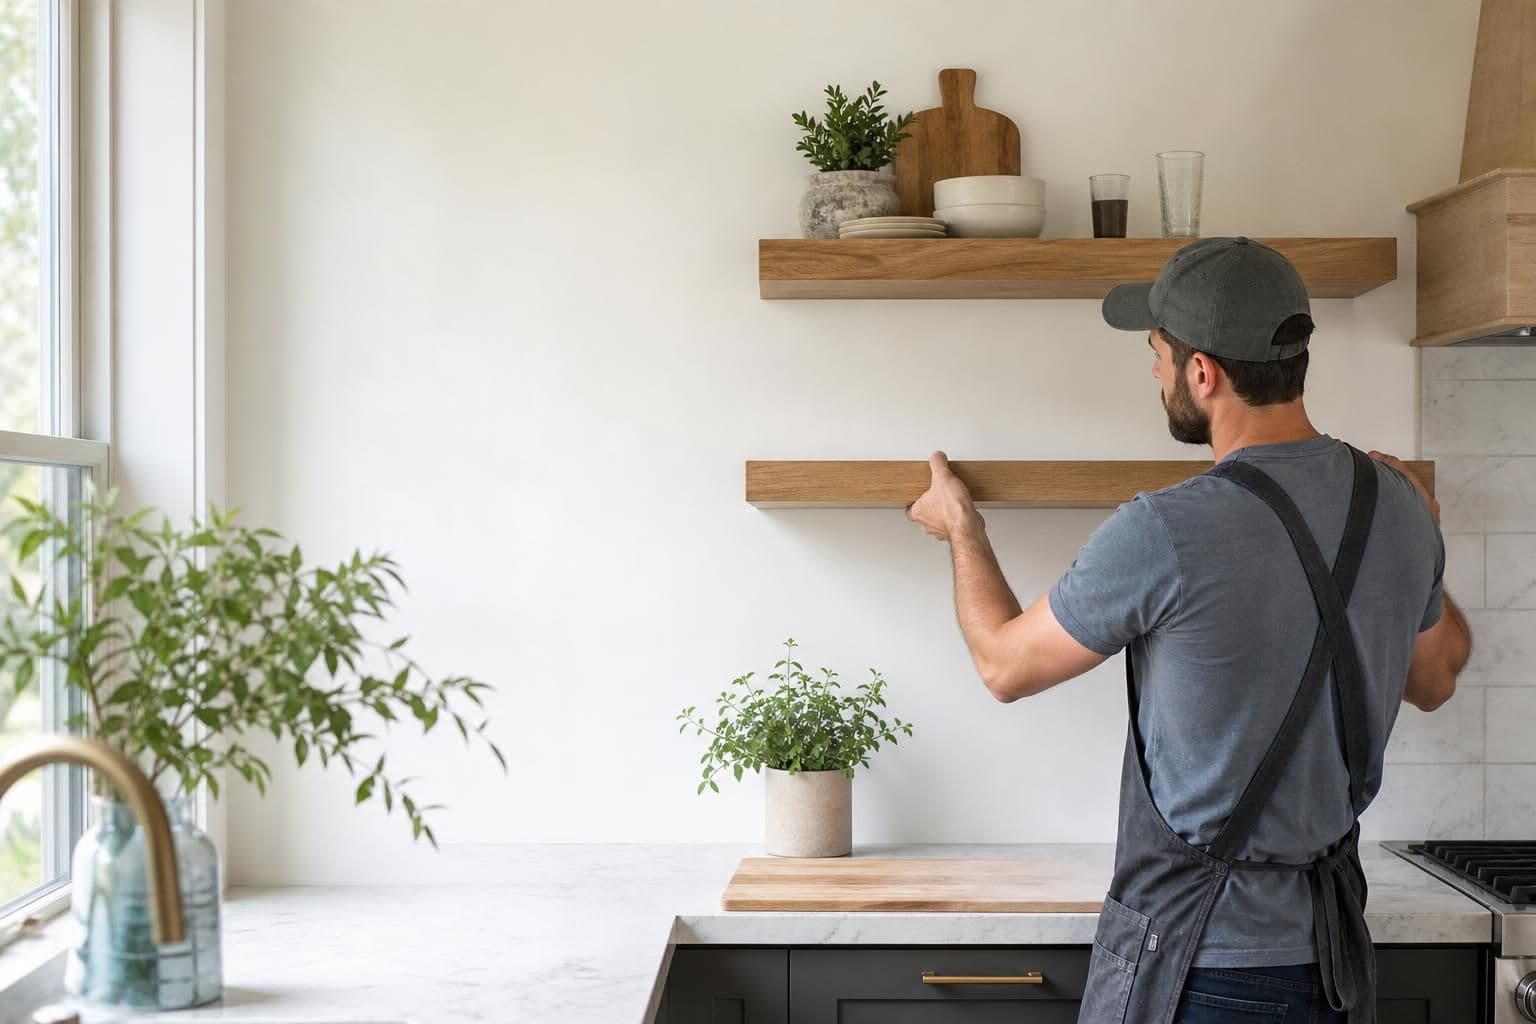
Key takeaway
To install floating shelves in a kitchen, locate wall studs with a stud finder, mark level mounting points, drill pilot holes, secure the bracket or French cleat directly into studs (or use rated toggle anchors in drywall-only sections), then slide the shelf onto the hardware and check it with a level before loading it with dishes or decor. The hardest part isn't the drilling — it's choosing hardware rated for the actual weight you'll put on the shelf and accounting for Hawaii's humidity, which can warp unsealed wood over time.
Key takeaways
- Anchor into at least one stud whenever possible; drywall-only anchors should be rated for roughly double your expected load.
- Seal or finish wood shelves on all six sides before mounting to resist Oahu's humidity and prevent warping near sinks and stoves.
- Space shelves 10–12 inches apart vertically and keep the top shelf within easy reach, usually no higher than 54 inches from the floor.
Choosing the Right Shelf Material for a Humid Kitchen
Solid wood, plywood with a veneer, and MDF are the three common options, and each behaves differently in a kitchen that sees steam, cooking grease, and salt air drifting in through open lanai doors. Solid wood holds up best long-term if it's sealed on every edge, including the back and underside, since unfinished surfaces absorb moisture unevenly and can cup or bow. MDF is the least forgiving in humid rooms because it swells permanently once water reaches the core, so it's a better fit for drier interior spaces than for kitchens near a sink or range.
Hawaii's average relative humidity sits well above mainland norms for much of the year, according to NOAA's National Weather Service, which is part of why local contractors lean toward moisture-resistant finishes and sealed edges rather than raw wood for anything mounted near a kitchen's wet zones. If you're already rethinking cabinet or shelf materials for the kitchen, it's worth reading about cabinet ideas suited to island homes before you commit to a shelf finish that won't match.
Tools and Hardware You'll Need
A basic floating shelf install requires:
- Stud finder (magnetic or electronic)
- Level (4-foot level gives more accuracy than a small torpedo level)
- Drill with masonry and wood bits
- Wall anchors rated for your shelf's expected load, or a French cleat system
- Pencil, tape measure, and a stud-marking tool
- Safety glasses, since drilling into plaster or concrete block common in older Oahu homes throws debris
Most floating shelf kits ship with a bracket, rod system, or hidden cleat rather than visible L-brackets, which is what gives the shelf its "floating" look. The hardware is what carries the load — the shelf itself is just a sleeve that slides over it, so skimping on anchors is the single most common cause of a shelf pulling out of the wall.
Step-by-Step Installation
- Mark your height and layout. Decide where the shelf sits relative to cabinets, backsplash tile, or a window. A common spacing is 15–18 inches above a counter and 10–12 inches between stacked shelves.
- Find and mark studs. Studs are typically spaced 16 inches on center in standard framing, though older Oahu homes — especially those built pre-1980 — sometimes vary, so confirm with a stud finder rather than assuming.
- Level and mark your bracket or cleat position. Use a level across the full width of the shelf, not just one end, since a shelf that's off by even a quarter-inch is visibly crooked once dishes are on it.
- Drill pilot holes. Pilot holes slightly smaller than your screw diameter prevent splitting, especially in older plaster walls common in Honolulu bungalows.
- Secure the bracket into studs. If a stud doesn't line up with your ideal shelf position, shift the shelf a few inches rather than relying solely on drywall anchors for the whole load.
- Add rated anchors for any non-stud points. Toggle bolts or self-drilling anchors rated for your shelf's weight back up the stud connection on longer shelves.
- Slide the shelf onto the hardware. Tap gently with a rubber mallet if it's a tight fit, then re-check level.
- Test with a light load first. Add a few lighter items before loading heavier cookware or stacks of plates, and recheck the mounting after a week to catch any early slippage.
How Much Weight Floating Shelves Can Actually Hold
Weight capacity depends almost entirely on the hardware and the wall material, not the shelf itself. A shelf mounted into two or more studs with a solid French cleat can typically hold significantly more than one relying on drywall anchors alone, since the studs transfer load into the framing rather than the wallboard. The U.S. Consumer Product Safety Commission has published guidance on wall-anchor failures contributing to tip-over and fall injuries in the home, which is a useful reminder that the anchor rating on the package is a ceiling, not a target — building in a margin below the stated limit is safer than mounting right at it.
For reference, a single toggle anchor is often rated for a modest load per anchor, while a stud-mounted bracket can carry several times that. If you're planning to store heavier items like cast iron pans, cookbooks, or a stack of ceramic plates, stud mounting isn't optional — it's the only reliable option.
Spacing and Placement That Actually Works in a Kitchen
Floating shelves work best in a kitchen when they replace upper cabinets in one zone rather than trying to match cabinet depth everywhere. A typical shelf depth of 8–10 inches suits mugs, small plates, and jars, while anything deeper starts to feel bulky against a backsplash. Keep shelves at least 18 inches above a cooktop to avoid grease buildup and heat exposure, mirroring the clearance most manufacturers recommend for range hoods, per the National Fire Protection Association guidance on cooking-area clearances.
If your kitchen already has open shelving mixed with closed cabinets, matching the shelf finish to your cabinet color keeps the room from feeling disjointed — something worth planning alongside any broader cabinet refresh, including updating cabinets without a full replacement.
When to Call a Pro Instead of DIYing It
Floating shelves are a reasonable DIY project for most homeowners, but a few situations call for a professional: plaster or concrete block walls common in older Honolulu homes, shelves spanning more than 36 inches that need multiple stud hits, or any shelf intended to hold significant weight like a wine rack or heavy stoneware collection. A contractor familiar with local wall construction can also tell you quickly whether a wall is load-bearing or has plumbing and electrical running through it before anyone drills.
Frequently Asked Questions
Q: How far apart should floating shelves be spaced in a kitchen?
A spacing of 10–12 inches between shelves works well for dishes, mugs, and small jars, while taller items like pitchers need closer to 14–16 inches of clearance.
Q: Can floating shelves hold heavy items like cast iron pans?
Yes, but only when mounted into wall studs with hardware rated well above the expected weight; drywall anchors alone aren't reliable for heavy cookware.
Q: Do floating shelves need to be sealed for a humid kitchen?
Unfinished wood should be sealed on all sides, including the back and edges, since unsealed wood absorbs moisture unevenly in humid conditions and can warp over time.
Q: What's the best height for floating shelves above a kitchen counter?
Most installers mount the lowest shelf 15–18 inches above the counter, giving enough clearance for small appliances while keeping items within easy reach.
Q: Is it better to use a French cleat or brackets for kitchen shelves?
A French cleat distributes weight along the entire length of the shelf and hides all hardware, making it a stronger and cleaner-looking option for shelves longer than about 24 inches.