How to Plan a Bathroom Vanity Remodel
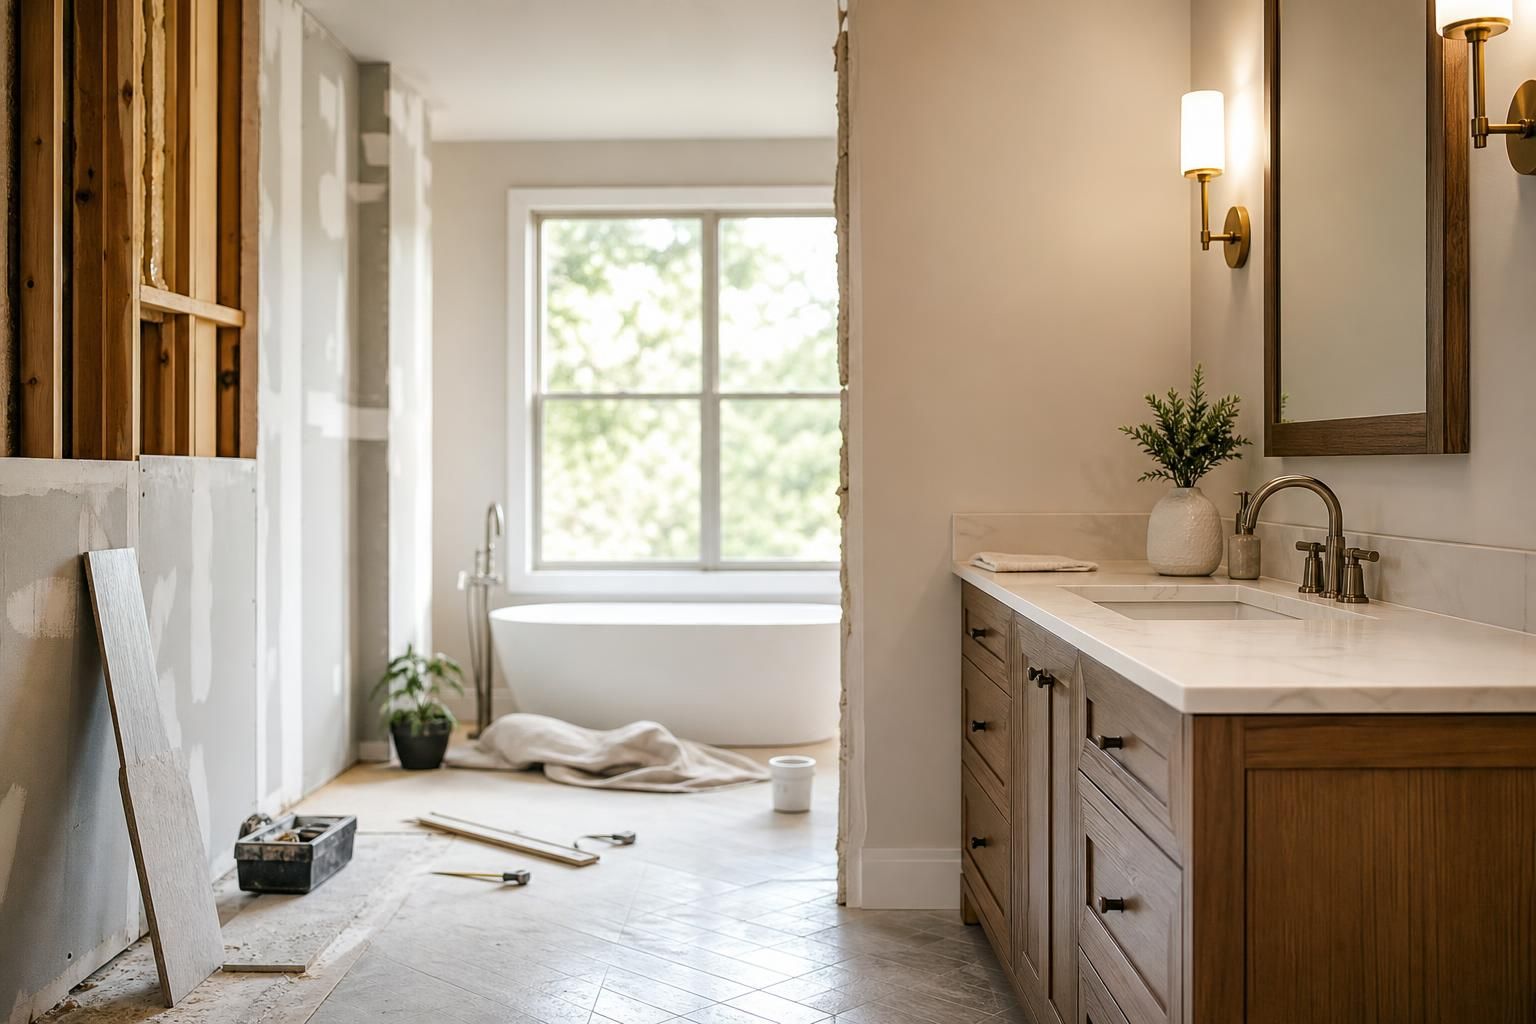
Key takeaway
Planning a bathroom vanity remodel means working through five steps in order: set a budget range, measure your space and plumbing locations, choose a vanity style and storage layout, pick humidity-resistant materials, then schedule the demo and install around water shutoff needs. Doing these in sequence prevents the most common and expensive mistake — ordering a vanity or countertop before confirming it will actually fit the plumbing rough-in. In a humid, salt-air climate like Oahu, material choice carries extra weight because the wrong substrate can swell or warp within a year or two.
Key takeaways
- Measure plumbing rough-in locations (drain and supply lines) before choosing a vanity width or style, not after.
- Choose moisture-resistant cabinet boxes and sealed countertop edges for island humidity — not standard mainland particleboard builds.
- Sequence the water shutoff and old vanity removal for a single day to minimize how long the bathroom is unusable.
Start With Space and Plumbing, Not Style
Before browsing vanity styles, pull out a tape measure and record the existing drain stub-out height, the water supply line spacing (usually centered or offset to one side), and the overall width and depth available between walls or fixtures. A plumbing rough-in that's off by even an inch from a new vanity's cutout can force a costly reroute. If you're keeping the existing plumbing location to save on labor, your new vanity's cabinet interior needs to leave clearance for the drain trap — single-sink vanities under 30 inches wide are the tightest fit for this.
Also check your ceiling height and any sloped soffits above the vanity area, common in older Oahu condos, since they can limit mirror or medicine cabinet placement later.
Decide on Vanity Style and Storage Layout
Once dimensions are confirmed, decide between a few common configurations:
- Freestanding vanity — looks like a furniture piece, easiest for DIY-adjacent projects, but exposes the floor beneath to moisture over time.
- Floating (wall-mounted) vanity — frees up floor space and simplifies cleaning around the base, though it requires solid wall blocking to support the weight.
- Double vanity — two sinks on one countertop, useful for shared bathrooms but needs roughly 60 inches of width minimum to avoid cramped elbow room.
If you're torn between a floating design and a traditional floor-standing one, it helps to weigh how each performs in island humidity before deciding — see this comparison of a floating vanity against a standard floor-mounted one for the tradeoffs. For bathrooms shared by two people, a double-vanity layout is worth sketching out even if the final plan goes single-sink, since it clarifies how much counter and storage space you actually need.
Choose Materials That Handle Humidity, Not Just Looks
Standard particleboard cabinet boxes sold on the mainland are built for drier, climate-controlled interiors. In Hawaii's year-round humidity, that same particleboard can swell at the seams within a couple of years, especially in bathrooms without strong exhaust ventilation. Look for plywood or moisture-resistant MDF cabinet boxes, and ask specifically about the finish on exposed edges — raw edges absorb moisture fastest.
Door hardware matters just as much as the box material. Standard steel hinges can corrode or stiffen in salt-air-influenced humidity faster than hardware rated for coastal or marine-adjacent conditions. It's worth reading through guidance on selecting hinges built for humid climates before finalizing your cabinet order, since swapping hardware after installation is far more disruptive than specifying it upfront.
For the countertop itself, quartz is a common choice for vanities because it's non-porous and doesn't require periodic sealing the way natural stone does — though even quartz can show mineral buildup around faucets if water is left standing. If you're also redoing a kitchen or comparing options, this rundown of bathroom countertop materials suited to Oahu homes covers how quartz, granite, and solid surface compare for a wet environment. Over time, hard water spots on any stone-look surface are avoidable with a few basic habits, outlined in this piece on stopping water rings from forming on quartz.
Plan Ventilation Before the Vanity Goes In
A bathroom exhaust fan isn't just a comfort feature — the U.S. Environmental Protection Agency notes that controlling indoor moisture is one of the primary ways to prevent mold growth, since mold needs sustained damp conditions to establish itself (EPA, Mold Course). If your current fan is undersized or your bathroom lacks one entirely, a vanity remodel is the natural time to upgrade it, since the wall or ceiling is already open for other work. Fan capacity is typically sized to the room's square footage and ceiling height, so a contractor can confirm the right rating for your specific bathroom rather than guessing.
Sequence the Project to Minimize Downtime
A typical vanity swap involves shutting off water to the fixture, disconnecting the supply lines and drain, removing the old vanity and countertop, confirming the wall and floor underneath are sound, then setting and leveling the new base before reconnecting plumbing and sealing the countertop-to-wall joint. Doing the water shutoff and demo in the morning and the new vanity set in the same day keeps a household's only bathroom (common in smaller condos) out of commission for the shortest possible stretch. If cabinets are custom-built rather than stock, factor in lead time for that order before scheduling the plumber and installer, so everyone isn't waiting around on a single missing piece.
Budget Realistically for Island Conditions
Material and labor costs for a vanity remodel in Hawaii typically run higher than mainland averages, largely because cabinets, stone, and fixtures are shipped in and skilled labor rates reflect the islands' cost of living. Rather than relying on a generic national price range, it's more useful to request a local quote based on your specific vanity size, material choice, and plumbing complexity — a free design consultation is a low-pressure way to get real numbers before committing to a layout.
Frequently Asked Questions
Q: How long does a typical bathroom vanity remodel take?
A straightforward vanity swap with existing plumbing in the same location can often be completed in a day or two, while a remodel that moves plumbing lines or involves custom cabinets usually takes longer once lead times and inspections are factored in.
Q: Should I replace the vanity countertop and cabinet at the same time?
Replacing both together is generally more efficient, since removing a countertop to replace only the cabinet (or vice versa) risks damaging the piece you intended to keep and adds a second round of sealant work.
Q: What vanity width works best for a small Oahu bathroom or condo?
Single-sink vanities in the 24- to 30-inch range fit most small condo bathrooms while still leaving usable storage, though a floating design can make a narrow room feel less cramped by exposing floor space underneath.
Q: Do I need a permit to replace a bathroom vanity in Honolulu?
Simple vanity swaps that reuse existing plumbing locations typically don't require a permit, but any work that relocates drain or supply lines usually does — check with the City and County of Honolulu's building permits office before starting.
Q: What's the biggest mistake people make when planning a vanity remodel?
Ordering a vanity or countertop based on showroom dimensions alone, without first confirming the exact plumbing rough-in measurements in their own bathroom, is the most common and costly planning mistake.