How to Repair a Chipped Quartz Countertop
Key takeaway
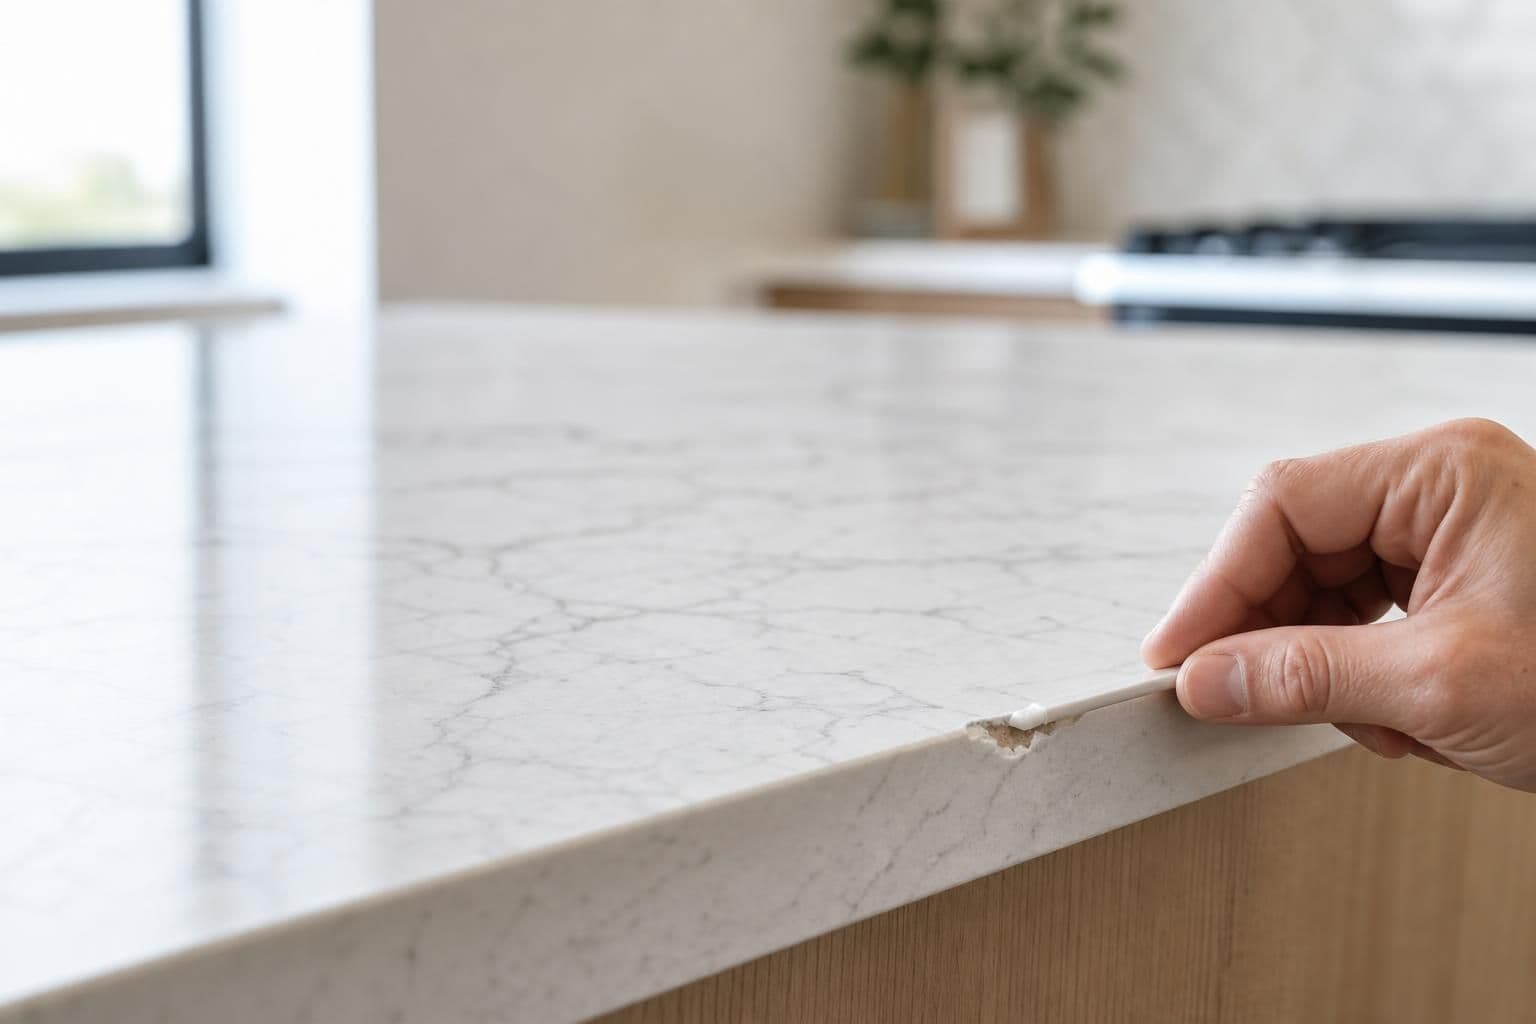
A small chip in quartz can usually be fixed with a two-part epoxy resin color-matched to the slab, applied directly into the chipped area, leveled flush, cured, and then polished to blend with the surrounding sheen. Chips deeper than about an eighth of an inch, chips near a sink cutout or seam, or chips that expose the underlying substrate are better handled by a professional fabricator who can color-match pigments and re-polish without leaving a visible patch. Quartz itself won't crack from humidity, but a sharp impact — a dropped cast-iron pan, a cleaver hitting an edge — is almost always the cause.
Key takeaways
- Small surface chips can be filled with color-matched two-part epoxy and light-cured in under an hour; full cure takes about 24 hours.
- Chips at an edge, corner, or near a seam are higher-risk DIY repairs because mismatched color is more visible there — consider a pro for these spots.
- Never dry-sand or grind quartz without wetting the area or using a respirator; cutting into engineered stone releases fine silica dust.
Why Quartz Chips in the First Place
Quartz countertops are engineered from crushed natural quartz bound with polymer resin, giving them a Mohs hardness around 7 — harder than most kitchen tools but still vulnerable to a direct, concentrated impact. Chips almost always start at an edge, corner, or thin overhang, where there's less material backing the surface. In Hawaii kitchens, this often happens during a quick unload of groceries, a dropped mason jar, or moving a heavy pot off the stove onto an adjacent edge. Heat rarely causes chipping on its own — that's a separate failure mode covered in how to protect quartz countertops from heat.
Step 1: Assess the Size and Location of the Chip
Before buying a repair kit, look closely at the damage:
- Surface chip — shallow, within the top layer, no visible substrate. Good DIY candidate.
- Deep chip or gouge — you can see a different color or texture layer underneath. Needs careful color-matching or a pro.
- Edge or corner chip — higher visibility, harder to disguise since light catches the edge differently than the flat field.
- Chip near a seam or sink cutout — structural stress point; a poor repair here can widen over time.
A chip smaller than a dime and shallower than 2mm is usually the easiest to fix at home.
Step 2: Clean and Prep the Area
Wipe the chip and surrounding area with isopropyl alcohol to remove grease, soap residue, or food oils — epoxy won't bond well over contaminants. Let it dry fully. If the chip has sharp or loose fragments, gently remove them with a plastic scraper rather than a metal one, which can scratch the surrounding polished surface.
Step 3: Color-Match and Apply the Epoxy Filler
Most quartz repair kits sold for countertops use a two-part clear or tintable epoxy that you mix with pigment powders to match the slab's base color and flecks. Working in small batches:
- Mix the epoxy per the kit's ratio (usually 1:1).
- Add pigment gradually, testing on a scrap piece or inconspicuous spot until it's close to the slab color.
- Use a flat applicator (a plastic putty knife works) to slightly overfill the chip — epoxy shrinks a little as it cures.
- Scrape off the excess level with the surrounding surface while the epoxy is still workable.
Light-cure epoxies set in 5–10 minutes under a UV lamp; standard two-part epoxies need 30–60 minutes to set and roughly 24 hours for a full cure before normal use.
Step 4: Sand and Polish to Blend the Repair
Once fully cured, wet-sand the patch with progressively finer grits — starting around 400 and working up to 1500–2000 — to bring it flush with the surrounding polish. A small buffing compound and soft cloth can restore sheen afterward. This step is where DIY repairs most often fall short: matching a factory polish by hand takes patience and several passes, and rushing it leaves a dull spot that's more visible than the original chip.
When to Call a Professional Instead
A fabricator repairing quartz professionally has access to a wider range of pigment tints, diamond polishing pads matched to the slab's factory finish, and experience blending repairs at edges and seams where DIY kits tend to show. It's worth calling in a pro when:
- The chip exposes a visibly different substrate layer.
- The damage is at a seam, sink cutout, or a thin waterfall edge.
- A previous DIY attempt left a visible patch you want corrected.
- The countertop is part of a rental or resale property where appearance matters for turnover.
For Oahu condo and vacation-rental owners juggling tenant turnover, a short professional repair visit is often faster and more reliable than a multi-step DIY job squeezed between guest stays.
A Safety Note on Dust
Any time quartz is cut, ground, or heavily sanded — not just during fabrication, but even aggressive DIY sanding of a repair — it can release fine respirable crystalline silica dust. The U.S. Occupational Safety and Health Administration sets a permissible exposure limit for this dust because prolonged inhalation is linked to silicosis and other respiratory disease; OSHA's silica standard outlines exposure limits and recommended controls like wet methods and local exhaust ventilation. For a small surface-chip repair, keep sanding wet when possible, work in a ventilated area, and wear an N95 or better respirator during any dry sanding step.
Preventing Future Chips
Quartz holds up well to daily kitchen use, but a few habits reduce repeat damage:
- Use cutting boards instead of the counter surface directly, especially near edges.
- Set heavy cast iron and stoneware down gently rather than sliding them across an edge.
- Keep edges and corners in mind when moving large appliances during a remodel — they're the most chip-prone zones on any quartz slab.
If you're pairing a repaired or new quartz surface with new cabinetry, it helps to plan both together — see pairing quartz countertops with shaker cabinets for how surface color and cabinet finish work together visually. And if hard water spotting is a bigger concern than chips in your kitchen, how to remove hard water stains from countertops covers that separately.
Frequently Asked Questions
Q: Can a chipped quartz countertop be fully repaired so it's invisible?
A well-matched, properly polished repair on a flat surface area can be very hard to spot in normal lighting, though it's rarely 100% invisible under close inspection or raking light. Edge and corner repairs are harder to fully hide than flat-field chips.
Q: How long does a quartz chip repair take to cure?
Light-cure epoxies can set in 5–10 minutes under UV light, while standard two-part epoxies typically need 30–60 minutes to set and about 24 hours to fully cure before the counter sees normal use.
Q: Is it safe to sand a quartz repair myself?
Wet-sanding is safer than dry-sanding because it keeps silica dust down; if dry sanding is unavoidable, work in a ventilated space and wear a proper respirator rated for fine dust, per OSHA guidance on engineered stone work.
Q: Will a chip get worse if I don't repair it right away?
An unaddressed chip can catch debris, grease, and moisture, and repeated contact at that spot can cause the damaged area to spread or flake further, so it's best to fill it before it's used heavily again.
Q: Does quartz chip more easily than granite?
Both are hard, impact-resistant surfaces, but granite is a solid natural stone while quartz is an engineered blend of crushed stone and resin; chipping behavior depends more on slab thickness and edge profile than on which material you choose.